The new pinmux already includes this file, so you don’t need to specify it anywhere else, but it has to be present.
Copy the padvoltage.dtsi and pinmux.dtsi files to the <l4t_top>/bootloader/generic/BCT/ directory and copy the gpio.dtsi file to the <l4t_top>/bootloader/ directory.
Please do it for the case of SKU5:
        elif [ "${board_sku}" = "0005" ]; then
                BPFDTB_FILE="tegra234-bpmp-3767-0003-3509-a02.dtb";
                DTB_FILE=tegra234-p3768-0000+p3767-0005-nv.dtb;
elif [ “${board_sku}” = “0005” ]; then
BPFDTB_FILE=“tegra234-bpmp-3767-0003-3509-a02.dtb”;
DTB_FILE=tegra234-p3768-0000+p3767-0005-nv.dtb; PINMUX_CONFIG=“Orin-myorin-pinmux.dtsi”;#added this line PMC_CONFIG=“Orin-myorin-padvoltage-default.dtsi”;#added this line
else
Saved the generated gpio, pinmux and padvoltage files:
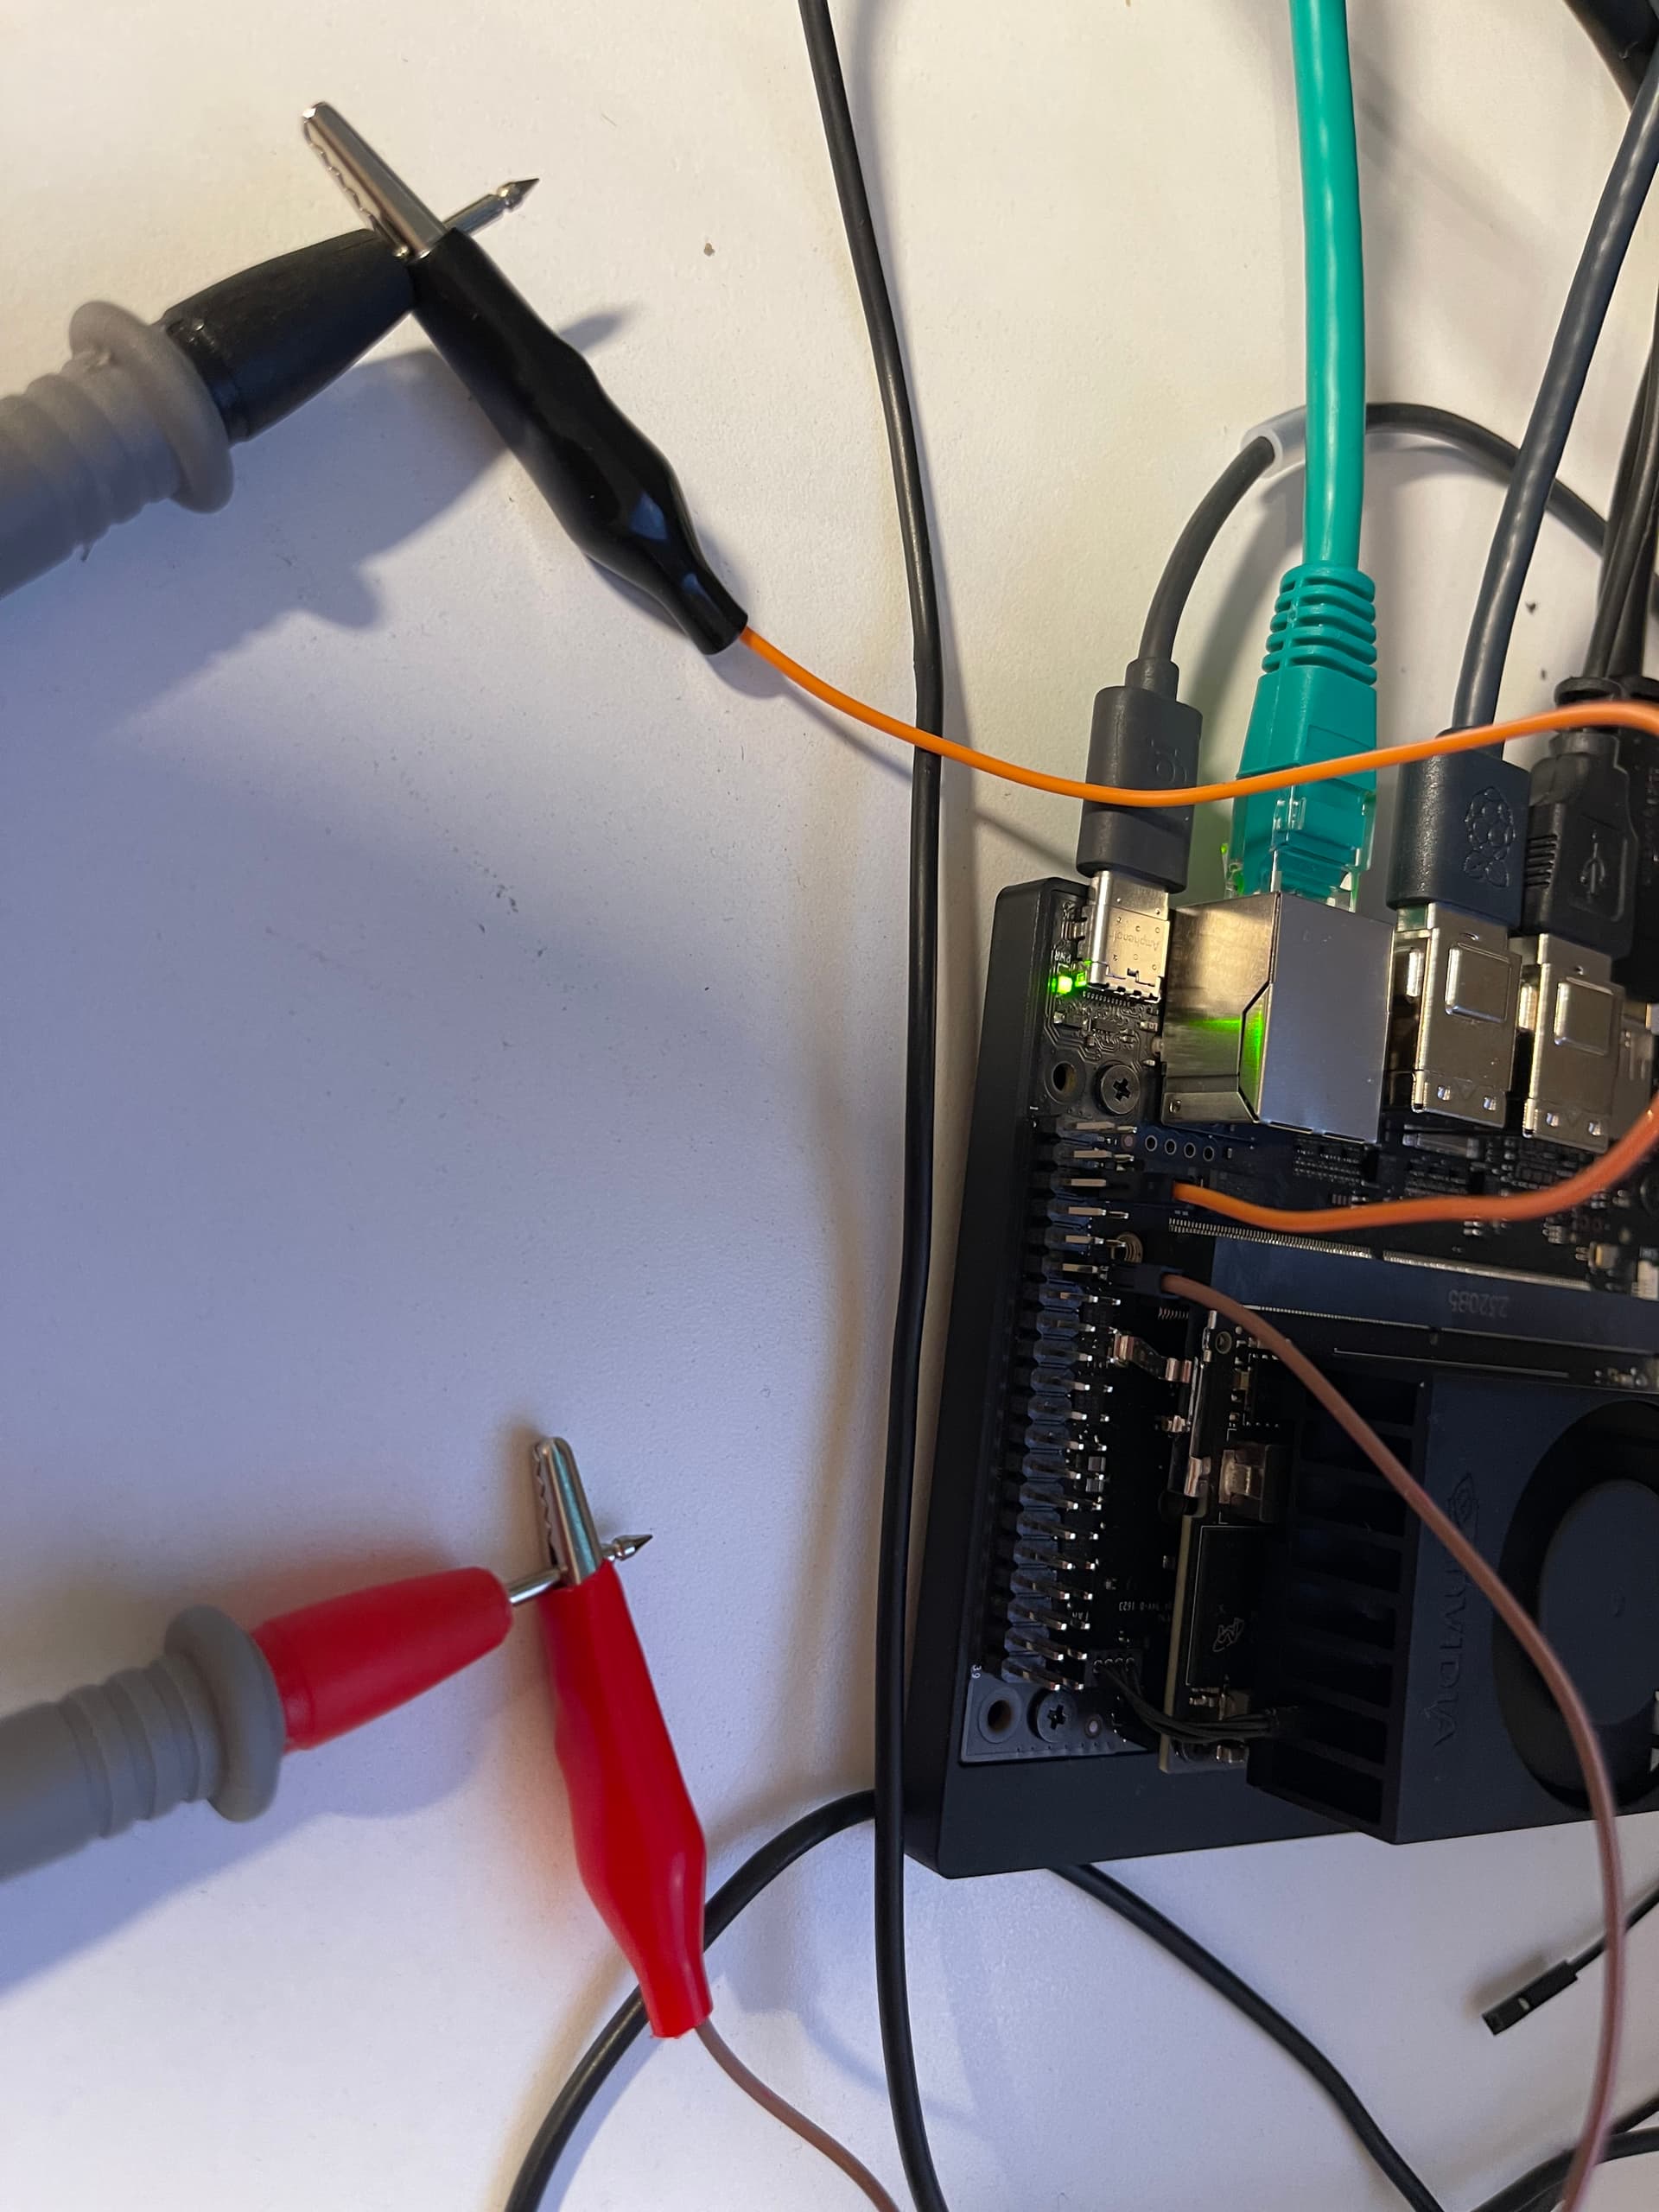
Try PIN12 for LED re-using existing hardware setup:
At jetson start:
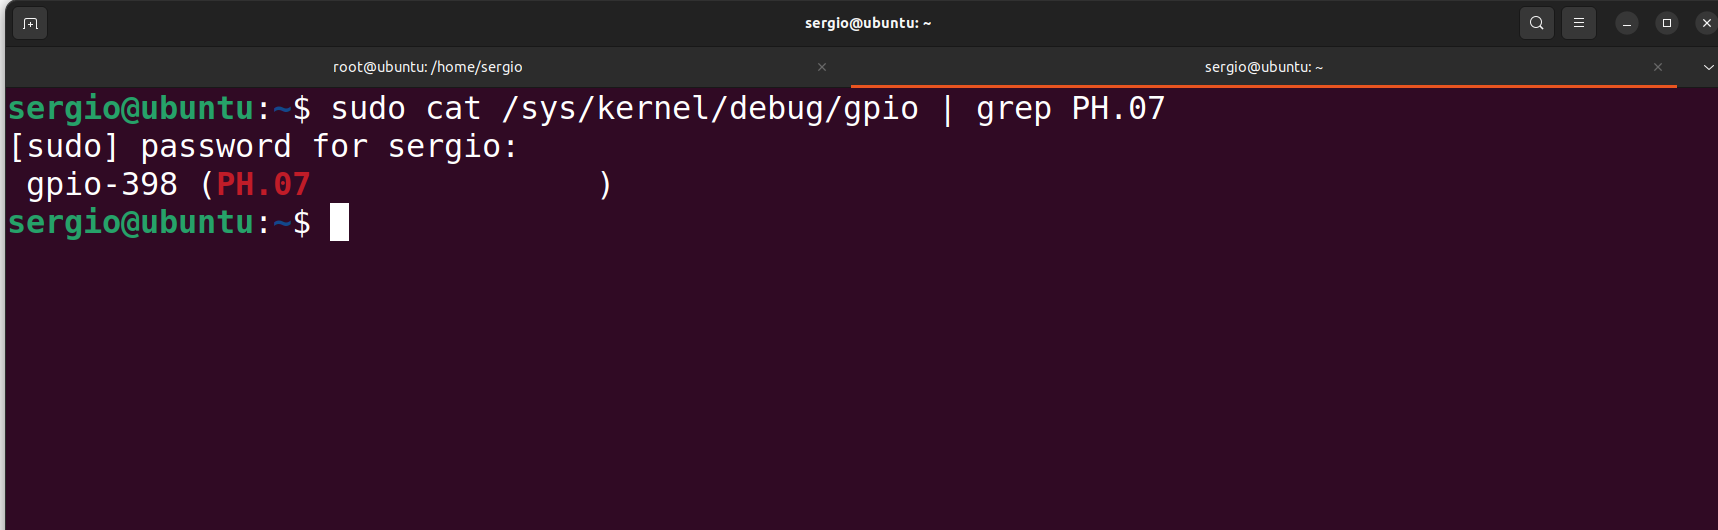
sergio@ubuntu:~$ sudo cat /sys/kernel/debug/gpio | grep PH.07
[sudo] password for sergio:
gpio-398 (PH.07 )
Run code for LED:
sergio@ubuntu:~$ python3
Python 3.10.12 (main, Jun 11 2023, 05:26:28) [GCC 11.4.0] on linux
Type “help”, “copyright”, “credits” or “license” for more information.
import Jetson.GPIO as GPIO
led_pin=12
GPIO.setmode(GPIO.BOARD)
GPIO.setup(led_pin,GPIO.OUT,initial=GPIO.HIGH)
Still no LED ON.
Check GPIO
sergio@ubuntu:~$ sudo cat /sys/kernel/debug/gpio | grep PH.07
[sudo] password for sergio:
gpio-398 (PH.07 |Jetson-gpio ) out hi
Try with output, but LED does not light up:
GPIO.output(led_pin,GPIO.HIGH)
This is the step what I’ve verified on the devkit and should work.
You didn’t add ` for gpiofind “PH.07” here.
It is " rather than “ and ”
Do you have any custom modification in pinmux with the clean R36.2?
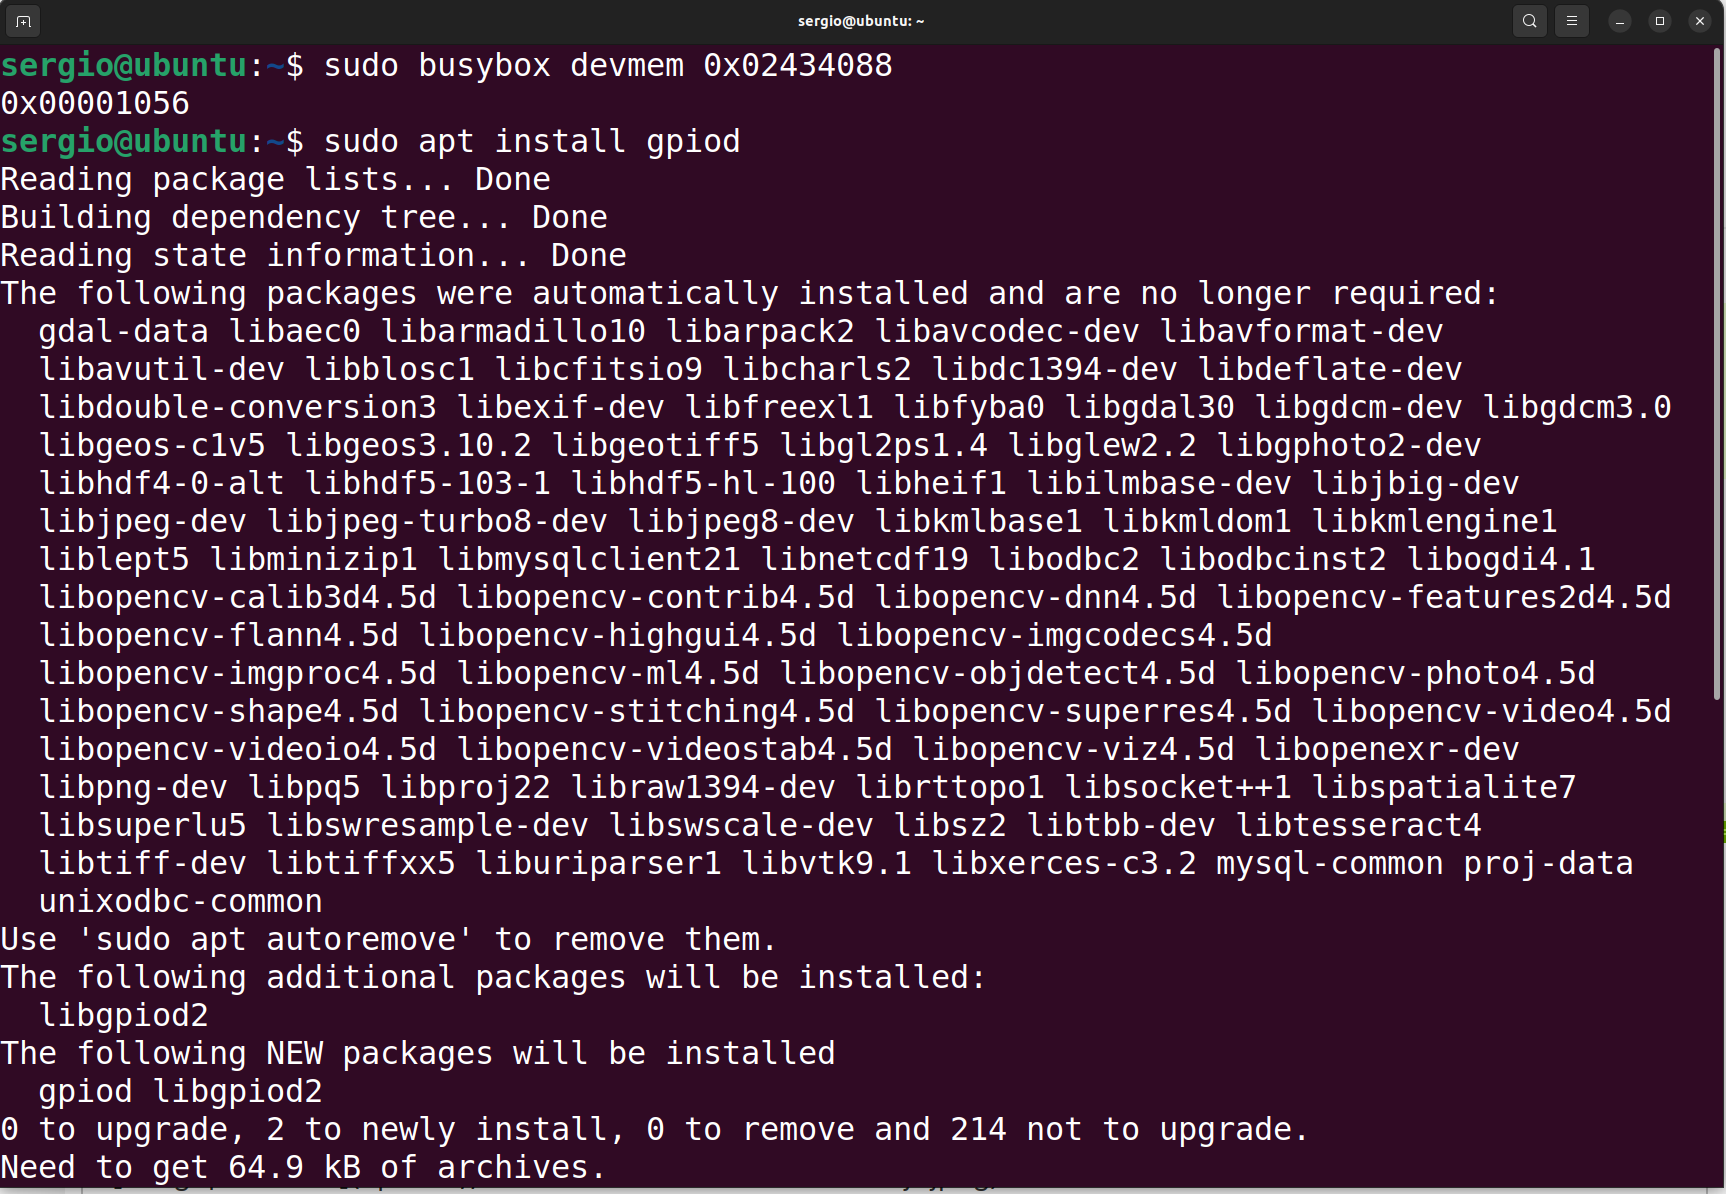
In my case, I got 0x1456 after flash the board.
The bit 10 should be 0 for GPIO usage so that I configured 0x1056 for this register.
0x400 is also not the expected value for this pinmux register.
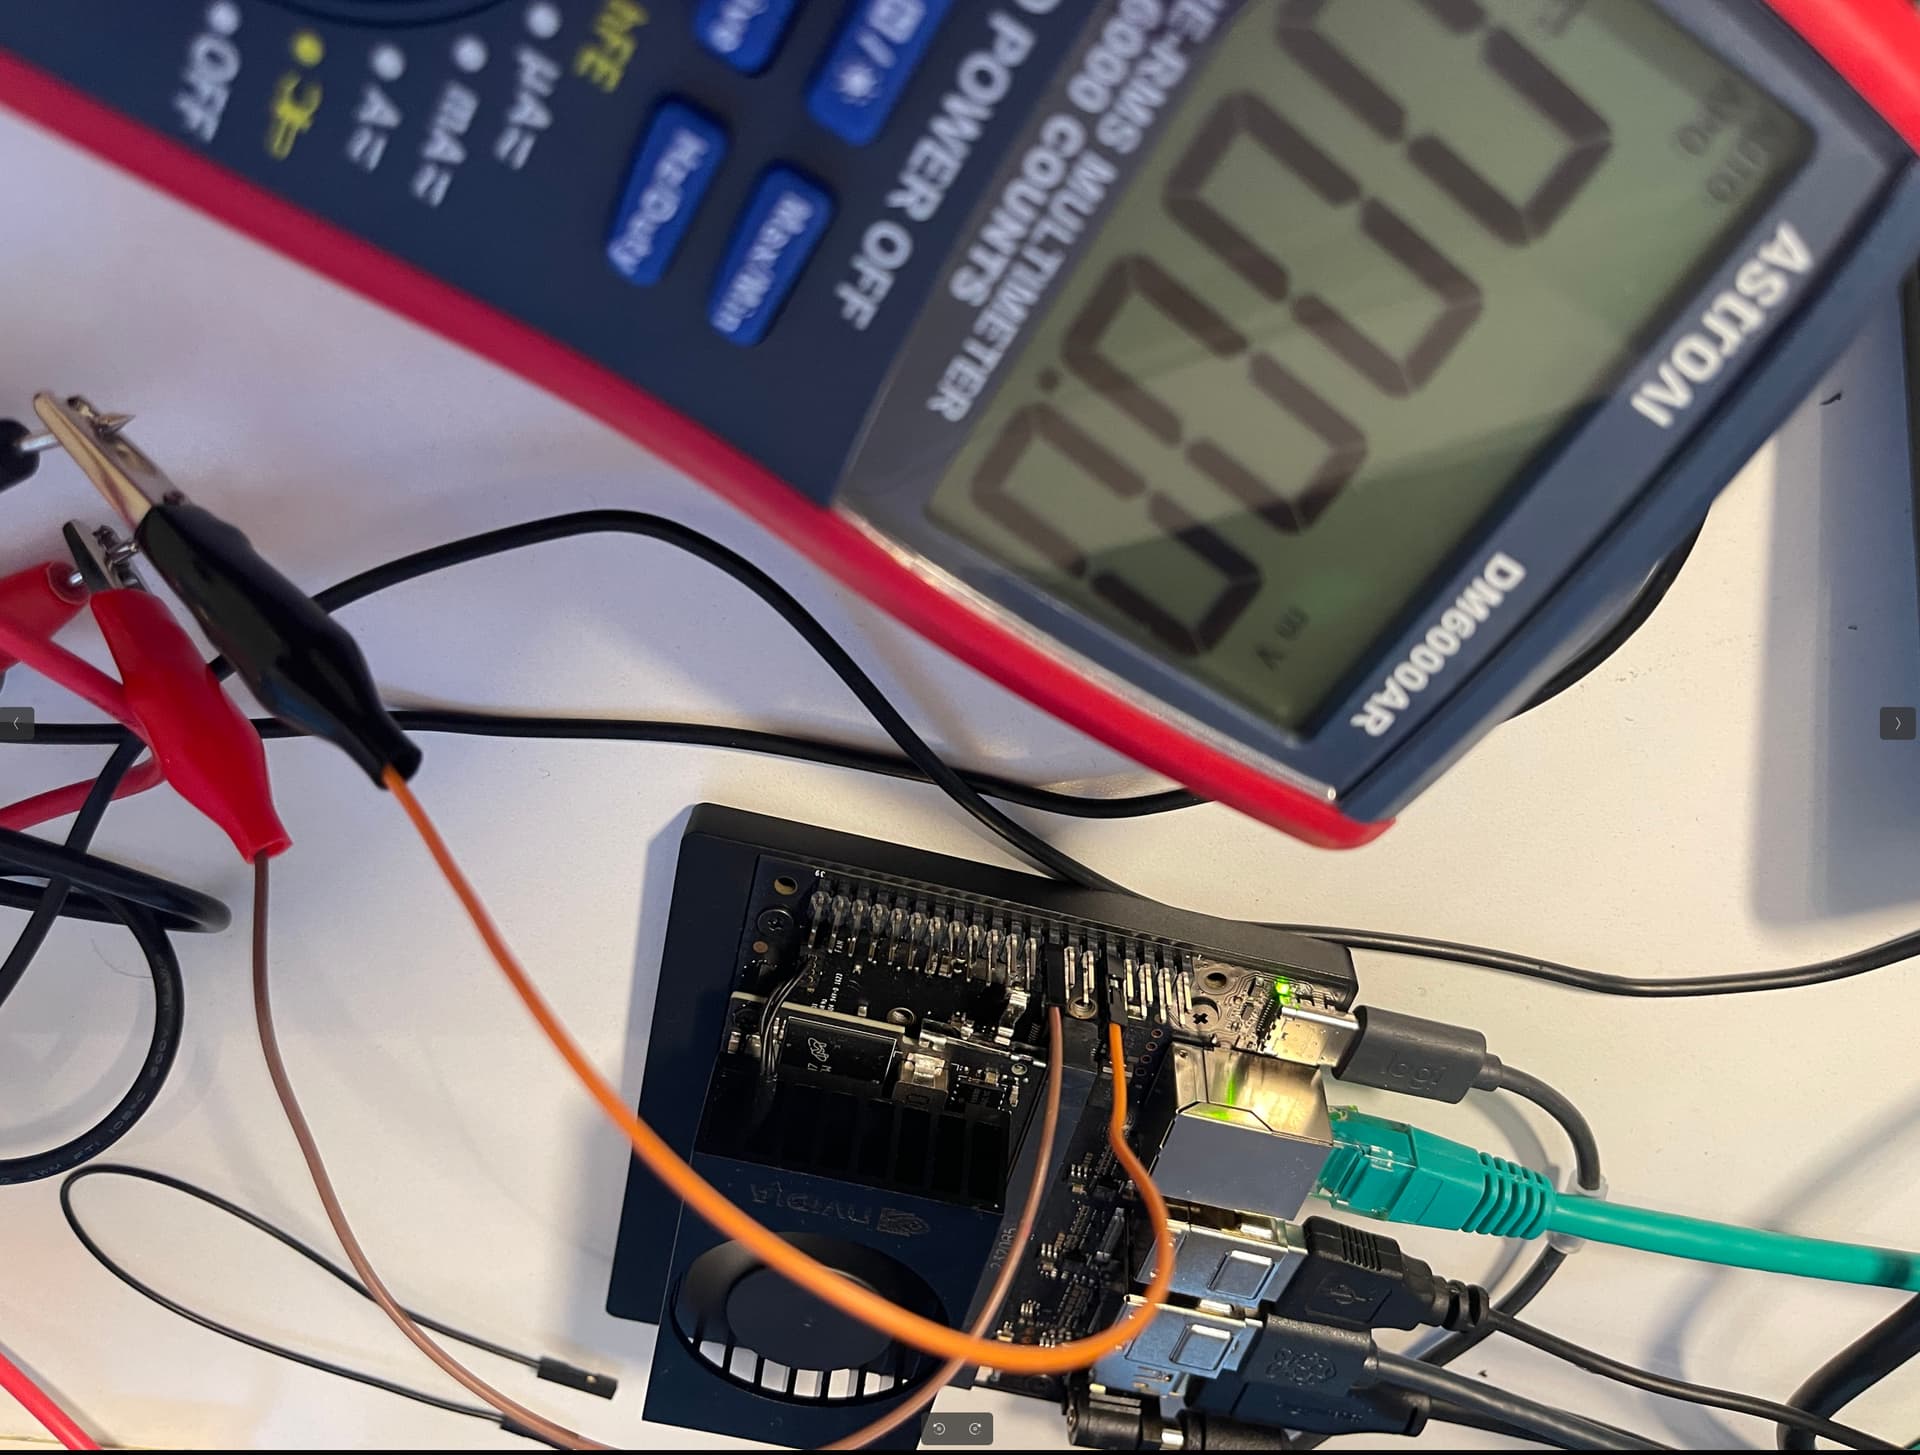
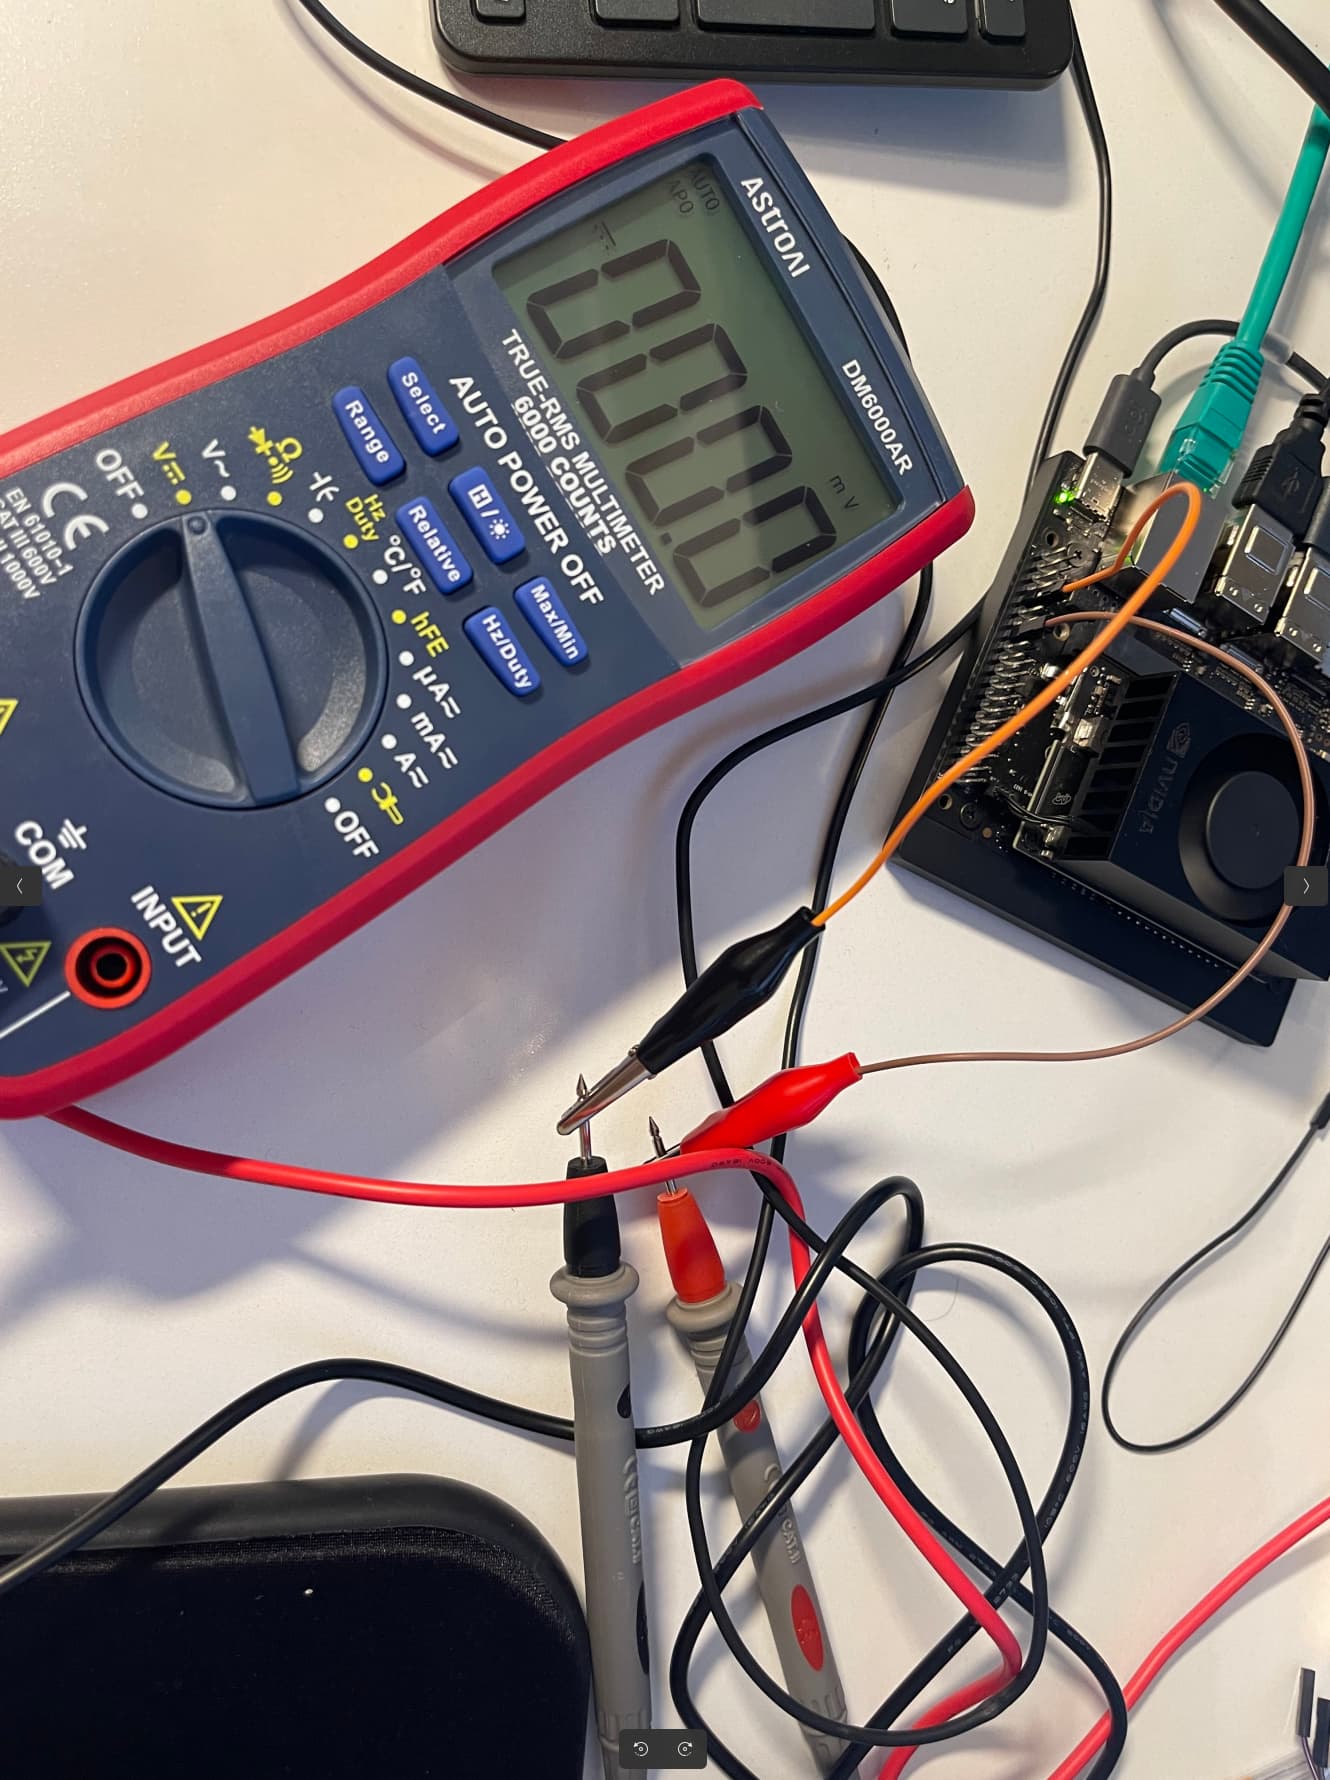
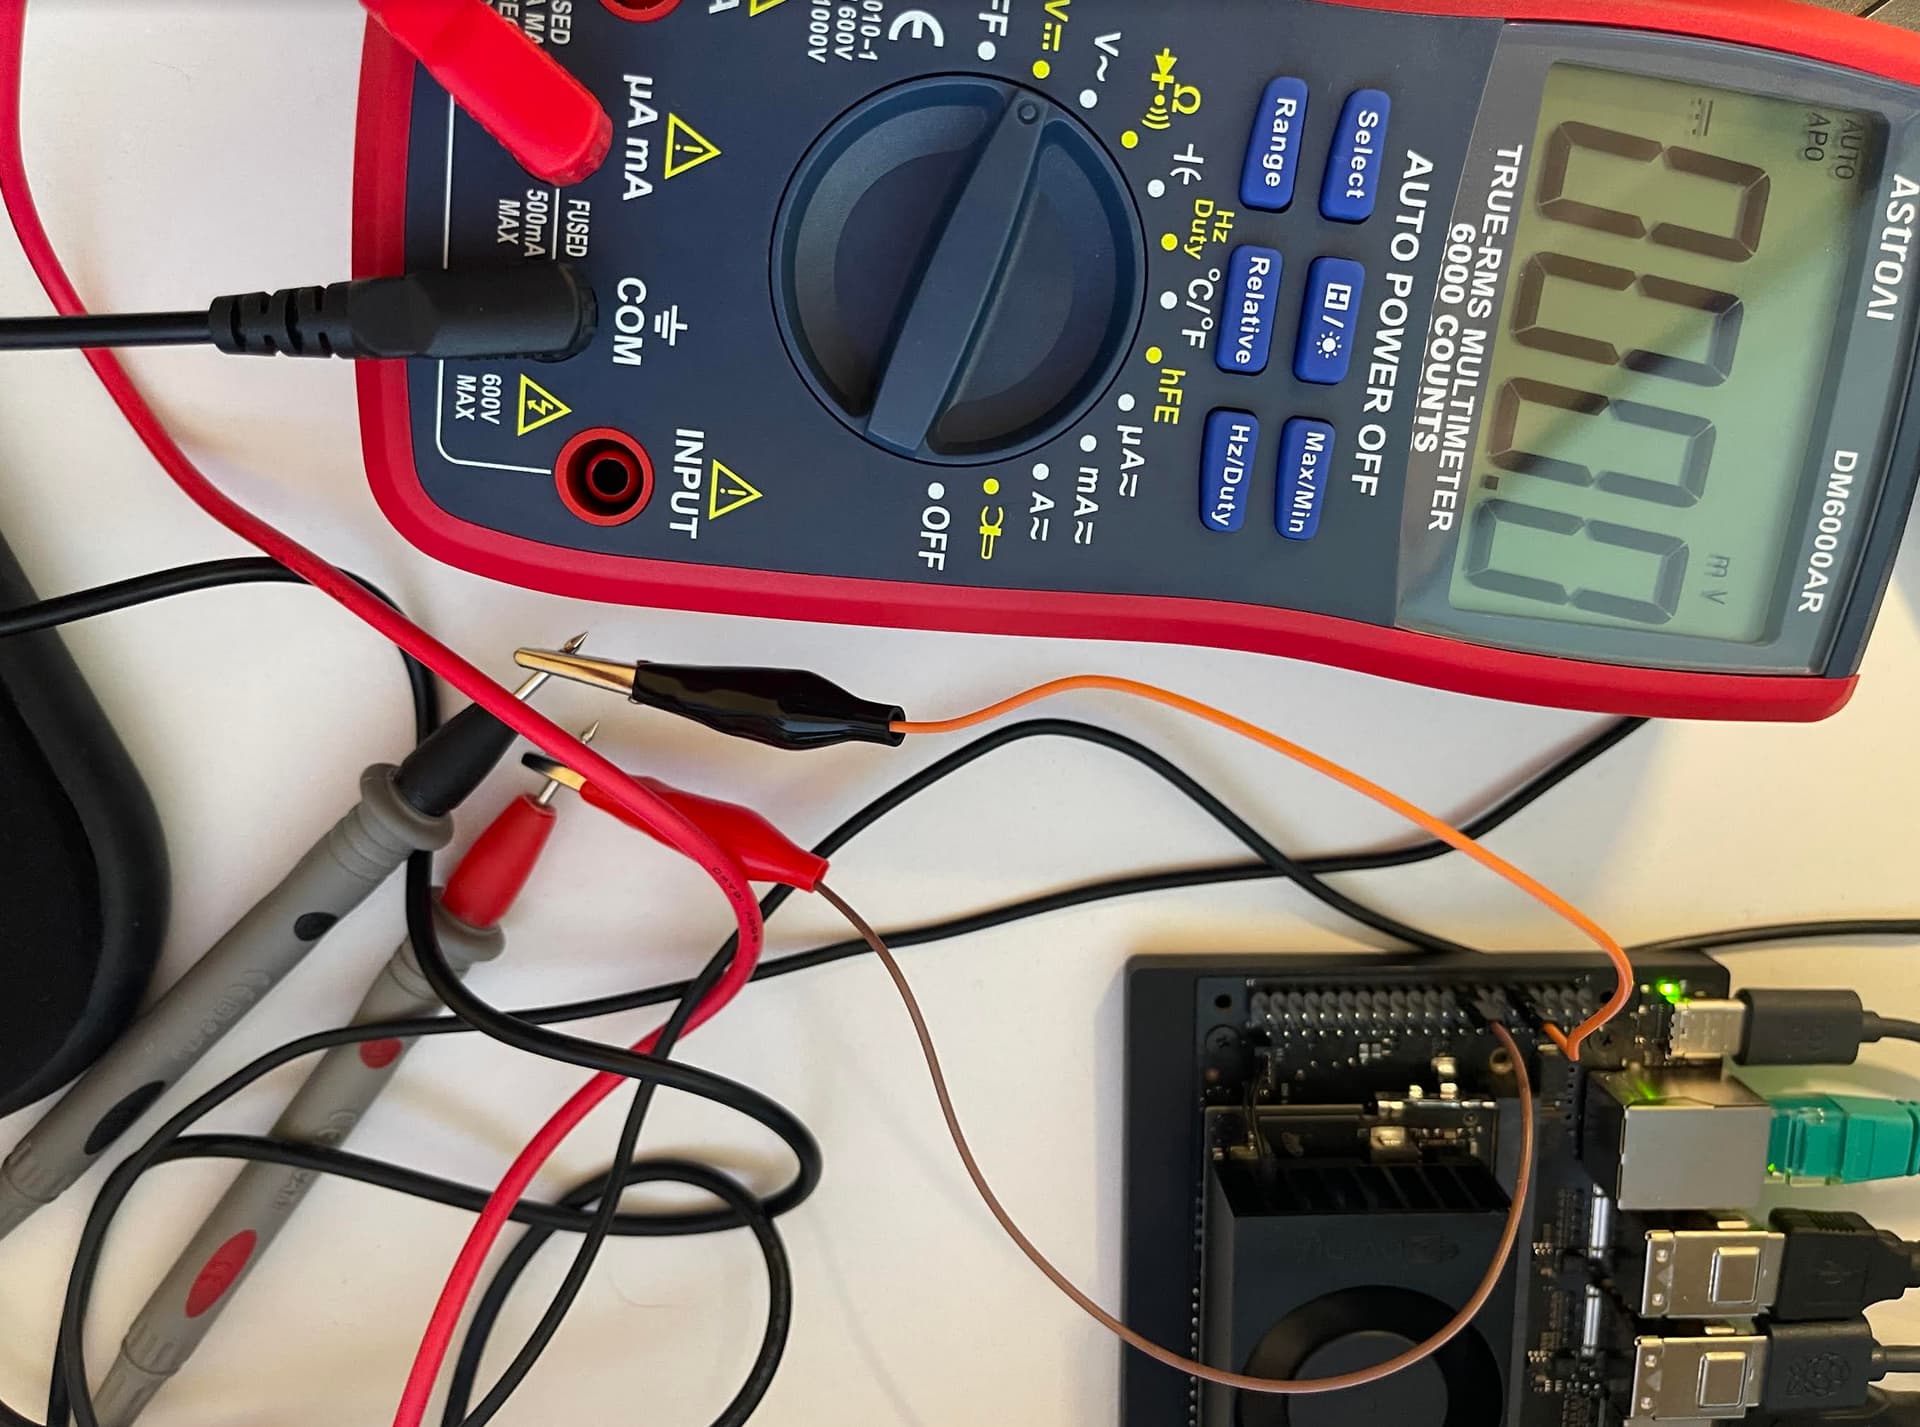
and I can see the PIN output changing in another terminal but there is no voltage:
sergio@ubuntu:~$ sudo cat /sys/kernel/debug/gpio | grep PH.07
gpio-398 (PH.07 )
ergio@ubuntu:~$ sudo cat /sys/kernel/debug/gpio | grep PH.07
gpio-398 (PH.07 |gpioset ) out lo
sergio@ubuntu:~$ sudo cat /sys/kernel/debug/gpio | grep PH.07
gpio-398 (PH.07 |gpioset ) out hi
I bought the Jetson to run AI and all I have done for a month is test PINs because they do not output voltage, not done any AI. Please appreciate that I am now therefore very frustrated, I have tried the solutions you suggested and unless you have last modification to try I conclude the board is bust and I ask you to provide me steps for RMA please.
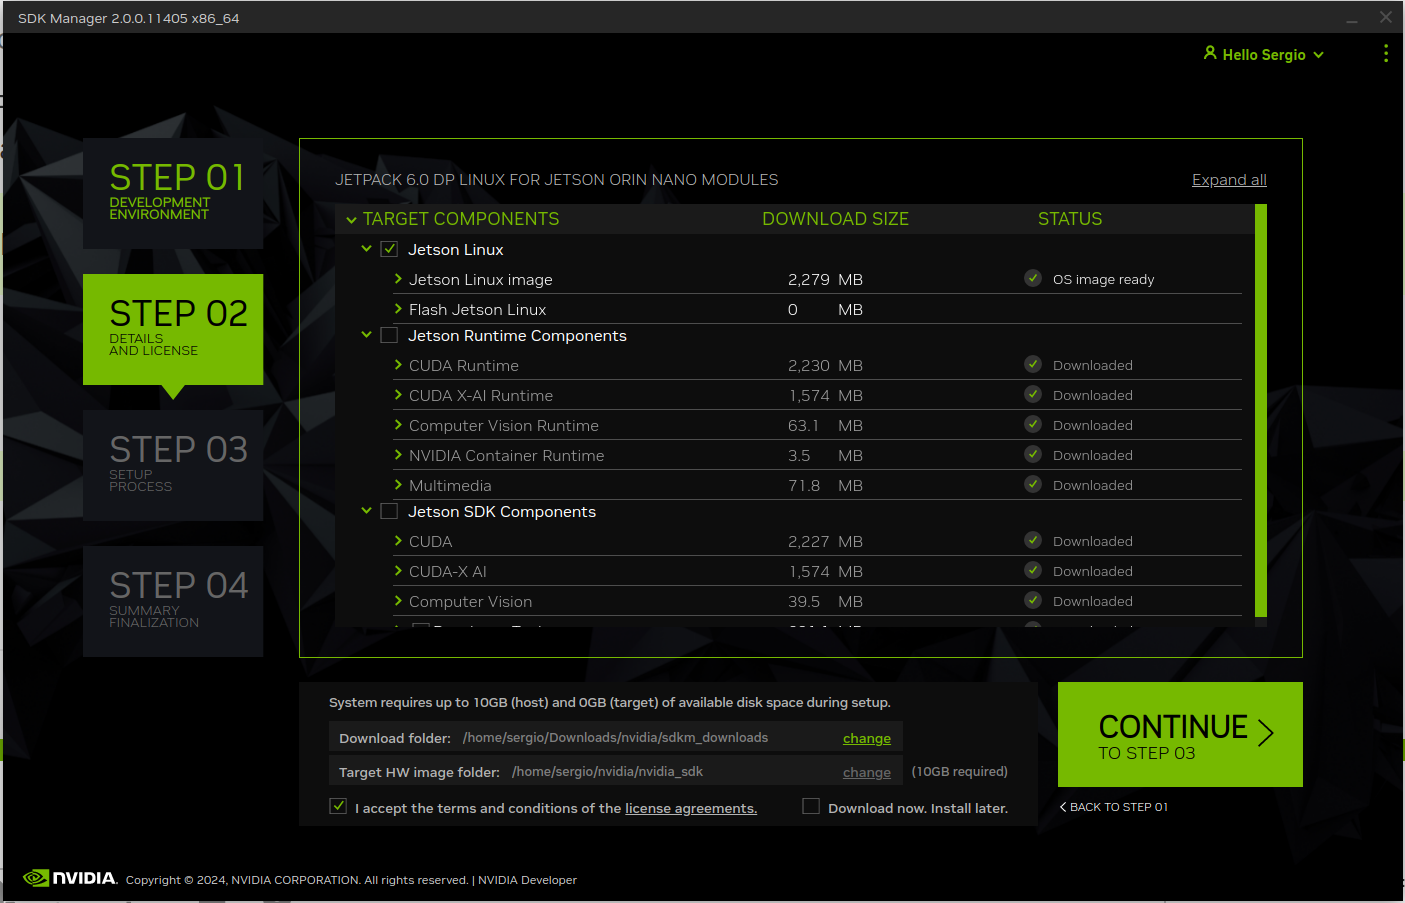
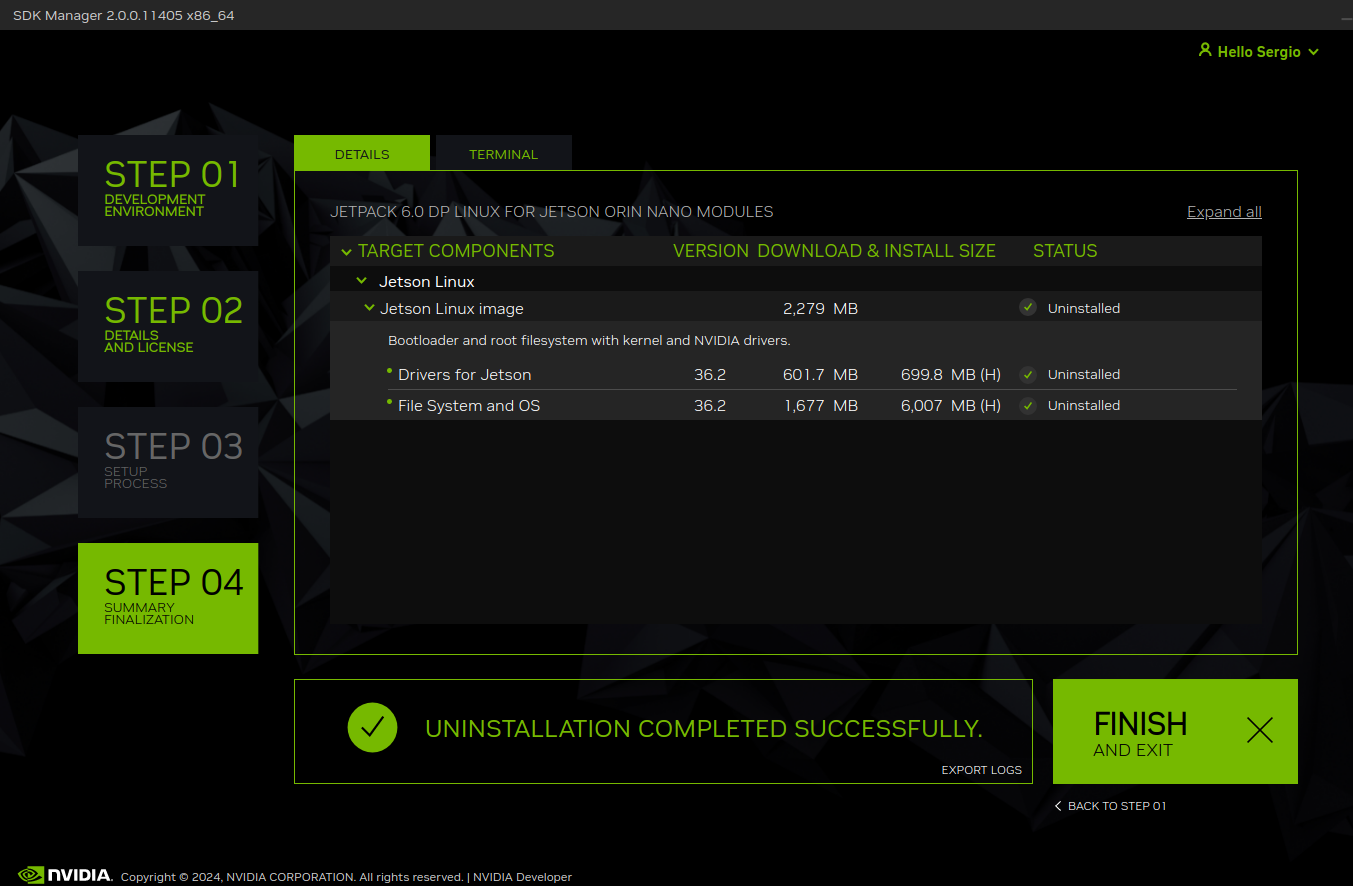
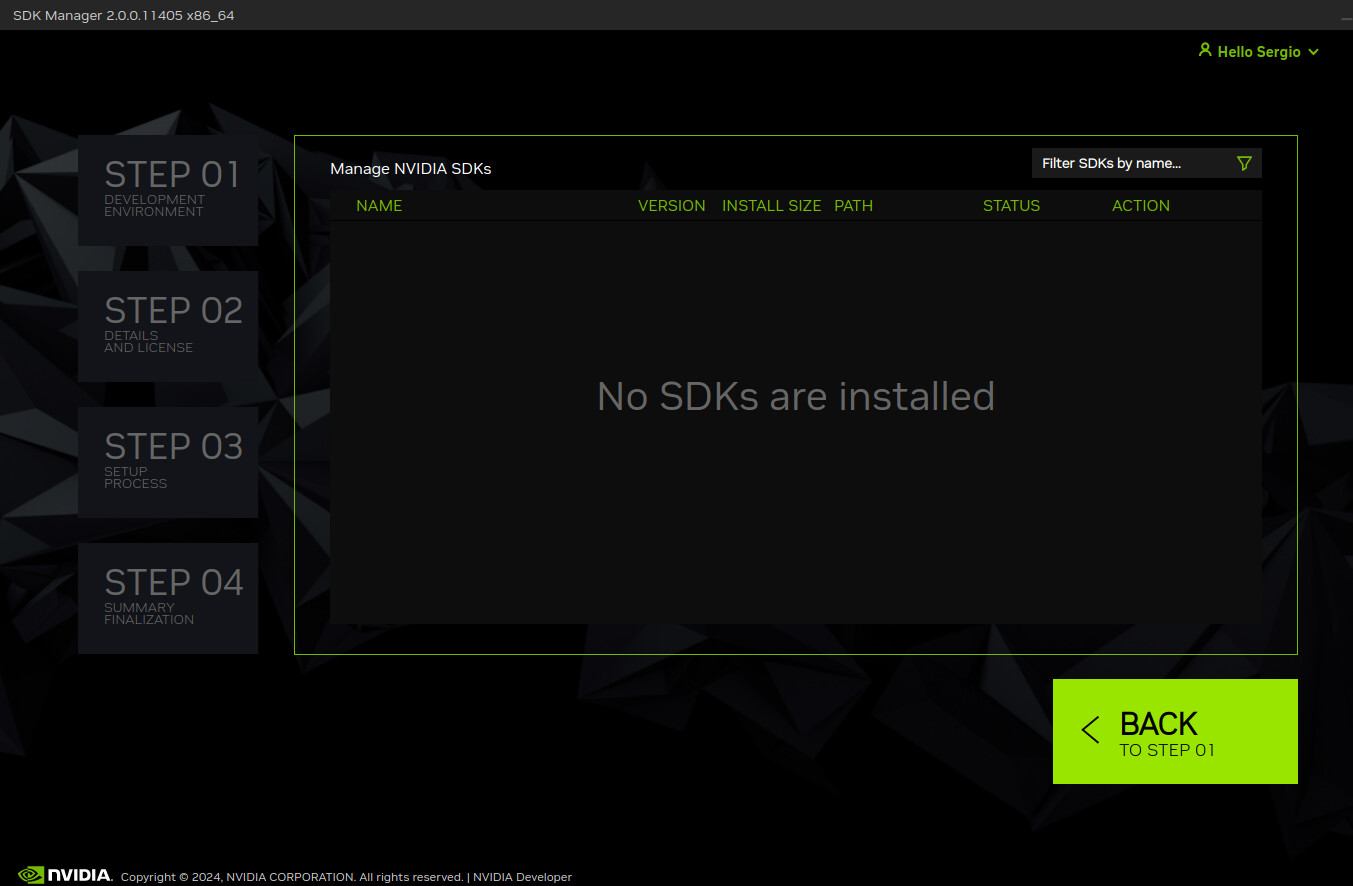
Since you are using the devkit, I would suggest you could verify from clean JP6.0 DP (R36.2).
You could just use SDKM to flash clean R36.2.
and run the commands what I’ve also verified on the devkit, too.