I connected 4 cameras to the max96712, averaging 1848M per lane, which has exceeded 1.5G. So I need to enable SerDes Pixel Clock and configure it, but I configured serdes_pix_clk_hz = “462000000” in dts; I found it didn’t take effect. How should I configure it?
*** Please note that this reply is generated by LLM automatically ***
To configure the SerDes Pixel Clock on the Jetson Orin NX, you need to understand the requirements and limitations of the system.
Firstly, the Jetson Orin NX supports a maximum of 16 virtual channels with ISP or 24 virtual channels without ISP. Each CSI brick can support up to 4 sensors, and the CSI aggregator uses virtual channels to connect to four cameras over one CSI connection.
In your case, you have connected 4 cameras to the max96712, which is averaging 1848M per lane, exceeding the 15G limit. To enable the SerDes Pixel Clock, you need to configure the serdes_pix_clk_hz parameter in the device tree (dts).
However, simply setting serdes_pix_clk_hz to 462000000 in the dts file may not take effect. You need to ensure that the clock frequency is correctly set and configured.
Here are some possible reasons why your configuration may not be taking effect:
- Clock frequency: The
serdes_pix_clk_hzvalue should match the actual clock frequency of your camera module. If the clock frequency is not correctly set, the SerDes Pixel Clock may not be enabled. - Device tree configuration: The device tree configuration may not be correctly set up to enable the SerDes Pixel Clock. You need to ensure that the
serdes_pix_clk_hzparameter is correctly defined and configured in the dts file. - Clock source: The clock source for the SerDes Pixel Clock may not be correctly set. You need to ensure that the clock source is correctly configured to provide the required clock frequency.
To configure the SerDes Pixel Clock correctly, you should:
- Verify the clock frequency of your camera module and set the
serdes_pix_clk_hzvalue accordingly. - Ensure that the device tree configuration is correctly set up to enable the SerDes Pixel Clock.
- Verify the clock source configuration to ensure that it provides the required clock frequency.
Here is an example of how to configure the SerDes Pixel Clock in the device tree:
csi {
    ...
    serdes_pix_clk_hz = <462000000>;
    ...
};
In this example, the serdes_pix_clk_hz value is set to 462000000, which is the clock frequency required by your camera module.
In comparison to other Jetson modules, the Jetson Orin NX has a similar configuration process for the SerDes Pixel Clock. However, the specific clock frequency and device tree configuration may vary depending on the module and camera module used.
In summary, to configure the SerDes Pixel Clock on the Jetson Orin NX, you need to verify the clock frequency of your camera module, ensure that the device tree configuration is correctly set up, and verify the clock source configuration. By following these steps, you should be able to correctly configure the SerDes Pixel Clock and enable it for your camera module.
*** Please give the thumbs up if you get answers you like. Or provide feedback to help us improve the answer. ***
How do you know it
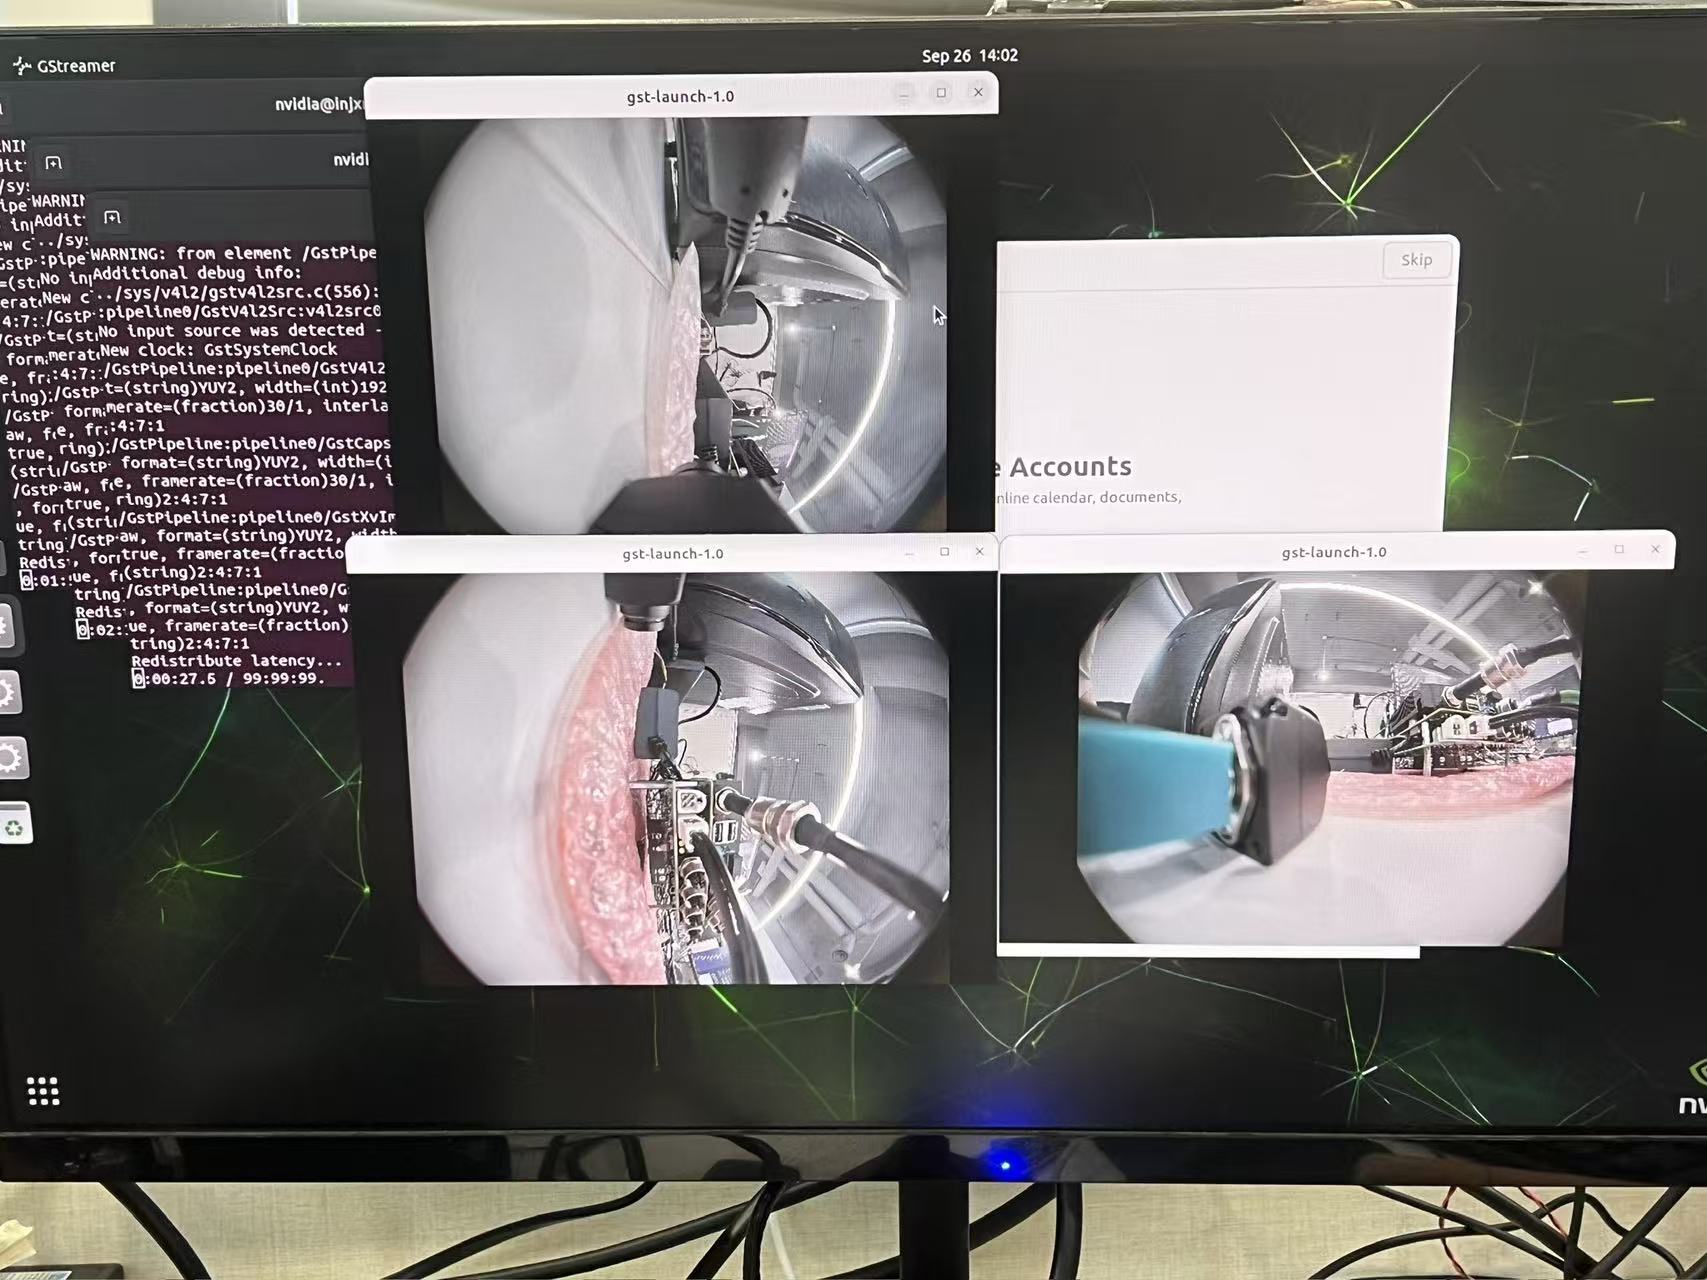
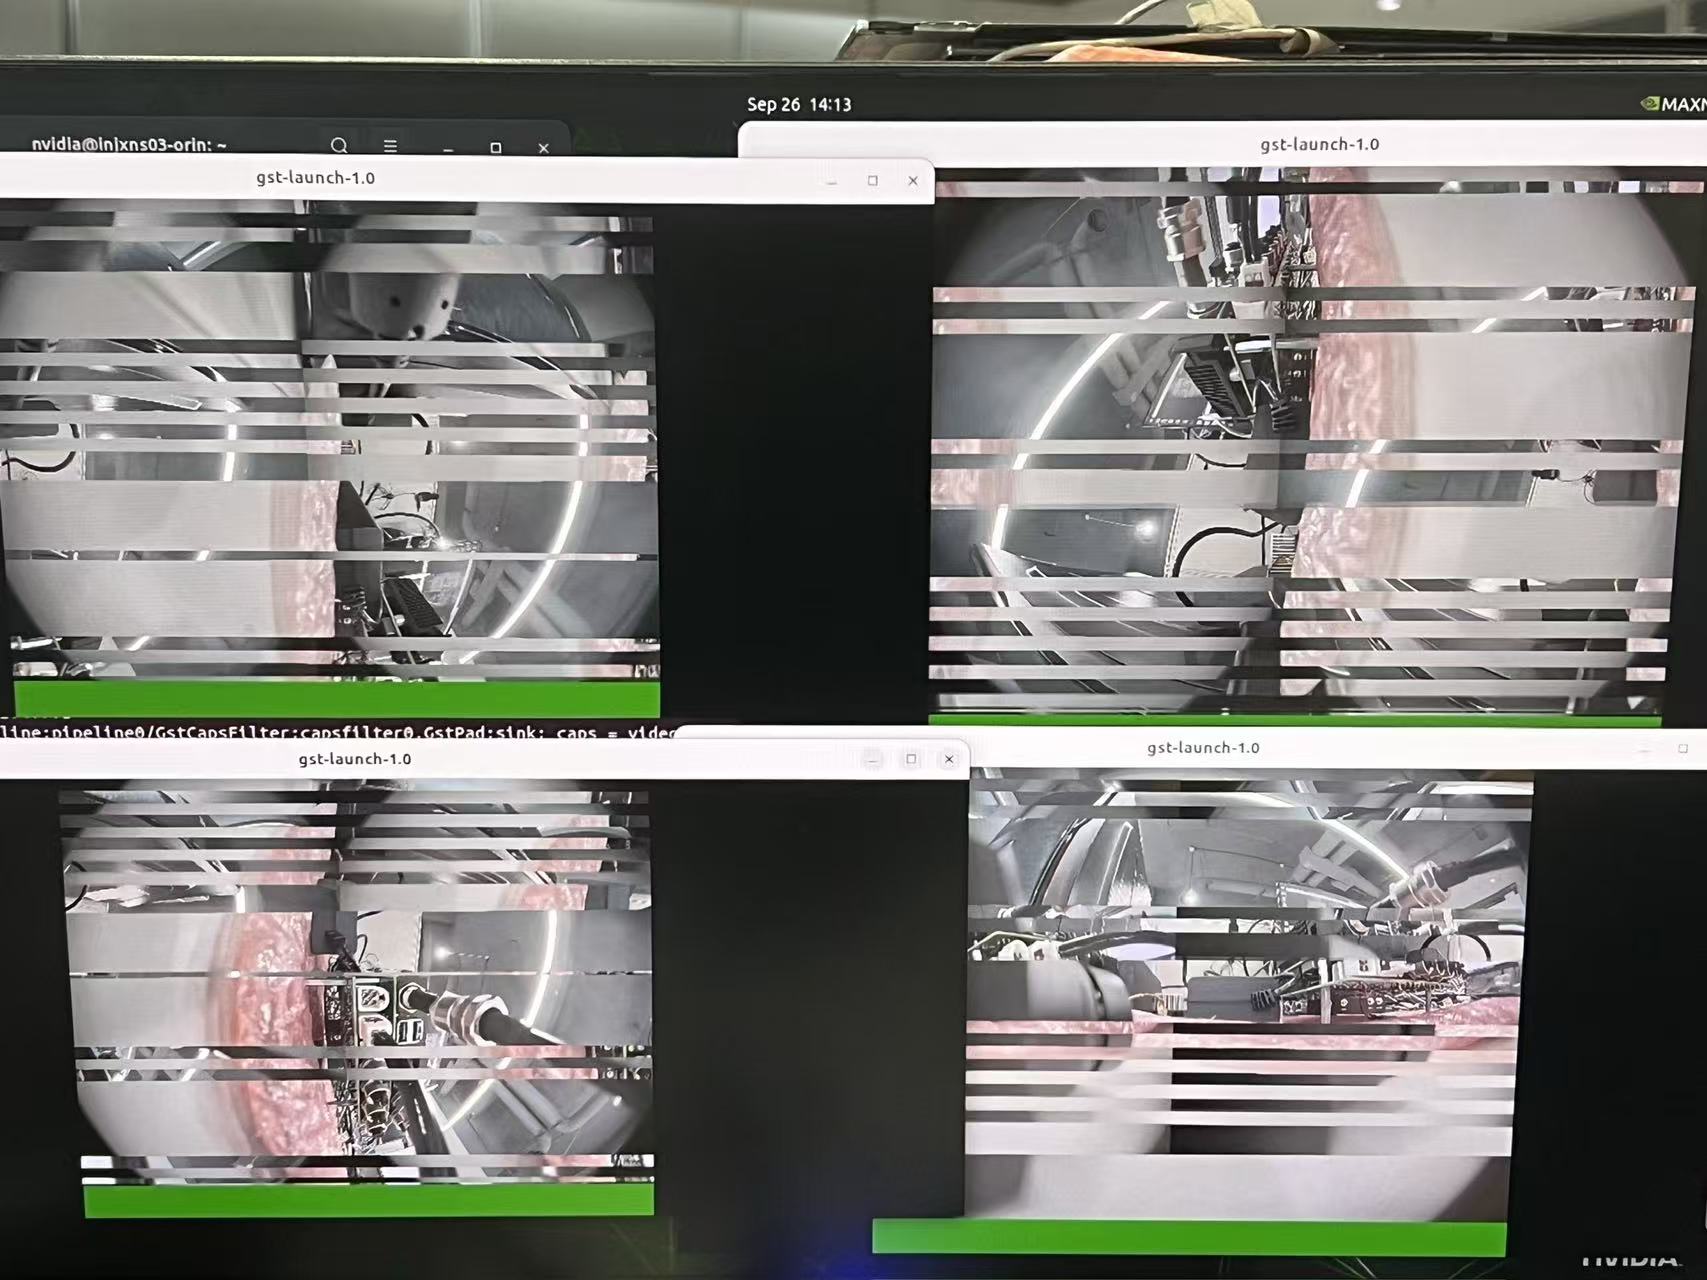
When I only enabled the data streams of three cameras, previewing all three cameras was normal. But when I enabled the data streams of four cameras, I found that there were stripes and partitions when previewing the cameras. However, when I added the serdes_pix_clk_hz configuration in dts, all the cameras could no longer be previewed
Try boost the clocks to verify the stripes problem instead of add added the serdes_pix_clk_hz for JP6.
sudo su
echo 1 > /sys/kernel/debug/bpmp/debug/clk/vi/mrq_rate_locked
echo 1 > /sys/kernel/debug/bpmp/debug/clk/isp/mrq_rate_locked
echo 1 > /sys/kernel/debug/bpmp/debug/clk/nvcsi/mrq_rate_locked
echo 1 > /sys/kernel/debug/bpmp/debug/clk/emc/mrq_rate_locked
cat /sys/kernel/debug/bpmp/debug/clk/vi/max_rate |tee /sys/kernel/debug/bpmp/debug/clk/vi/rate
cat /sys/kernel/debug/bpmp/debug/clk/isp/max_rate | tee  /sys/kernel/debug/bpmp/debug/clk/isp/rate
cat /sys/kernel/debug/bpmp/debug/clk/nvcsi/max_rate | tee /sys/kernel/debug/bpmp/debug/clk/nvcsi/rate
cat /sys/kernel/debug/bpmp/debug/clk/emc/max_rate | tee /sys/kernel/debug/bpmp/debug/clk/emc/rate
This configuration has already been enabled; otherwise, normal preview is not possible
It was precisely because I could preview three cameras normally (each camera is 462M/lane, and 3g is less than 1.5G), but four were abnormal, that I thought I needed to configure serdes_pix_clk_hz
What’s the output size and frame rate?
1920*1536 30fps format=YUY2
If you have boost the clock that doesn’t help then add the serdes_pix_clk_hz wouldn’t help on it too.
Could you decrease the frame rat to verify.
The frame rate cannot be reduced because the camera data is directly output by YUV. I cannot control the resolution and frame rate to decrease the CSI data
Does the open sequence does matter with the problem?
Sorry, I can’t understand what you mean
The camera launching order. Like open 1 →2 →3 →4 or 4→3→2→1 ..
I haven’t tried reverse opening (4>3>2>1) yet. I’ll give it a try first
it doesn’t matter the open order
Do these four cameras connect to the same CSI brick?
yes,These are connected the same MAX96712, then the MAX96712 are connected orin A port 4lane CSI [ 67.941608] [RCE] NVCSILP clock rate = 408000000 Hz.
[ 67.941609] [RCE] tegra_nvcsi_stream_set_config(vm0, stream=0, csi=0)
[ 67.941610] [RCE] MIPI clock = 231000 kHz, tHS-SETTLE = 0, tCLK-SETTLE = 0
[ 67.941611] [RCE] ===== NVCSI Stream Configuration =====
[ 67.941612] [RCE] stream_id: PP 0, csi_port: PORT A
[ 67.941613] [RCE] Brick: PHY 0, Mode: D-PHY
[ 67.941614] [RCE] Partition: CIL A, LP bypass: Enabled, Lanes: 4
[ 67.941615] [RCE] Clock information:
[ 67.941616] [RCE] MIPI clock rate: 231.00 MHz
[ 67.941616] [RCE] T_HS settle: 0, T_CLK settle: 0
[ 67.941617] [RCE] ======================================
I would suspect could be the max96712 bandwidth cause the problem.
1 Like